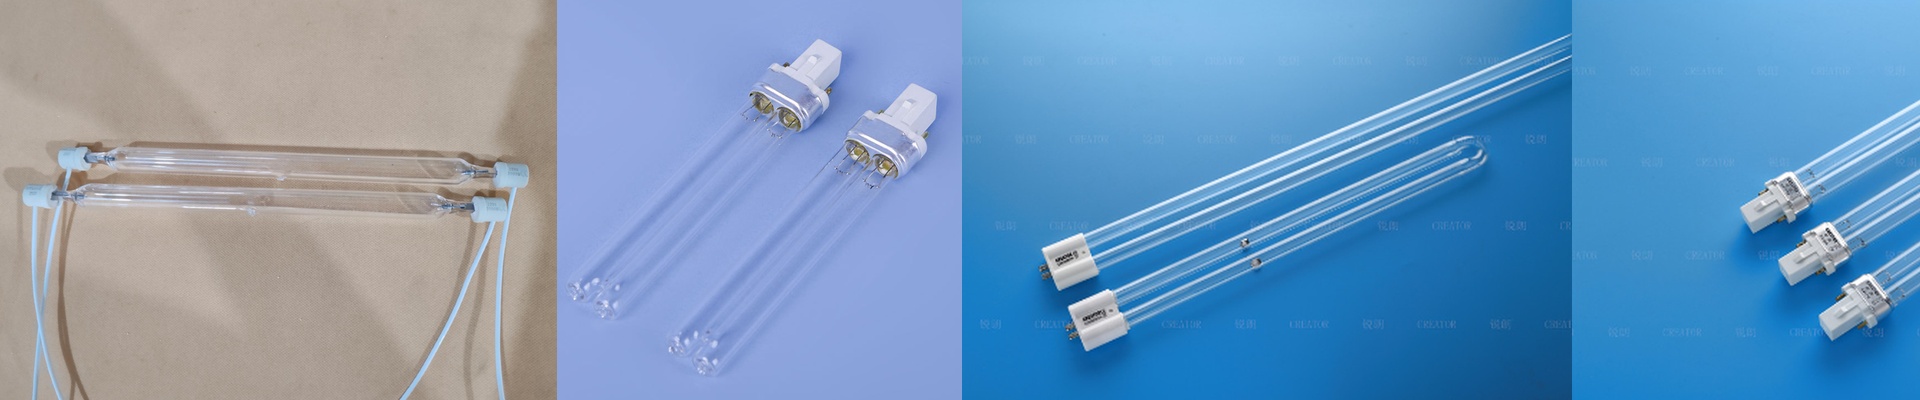
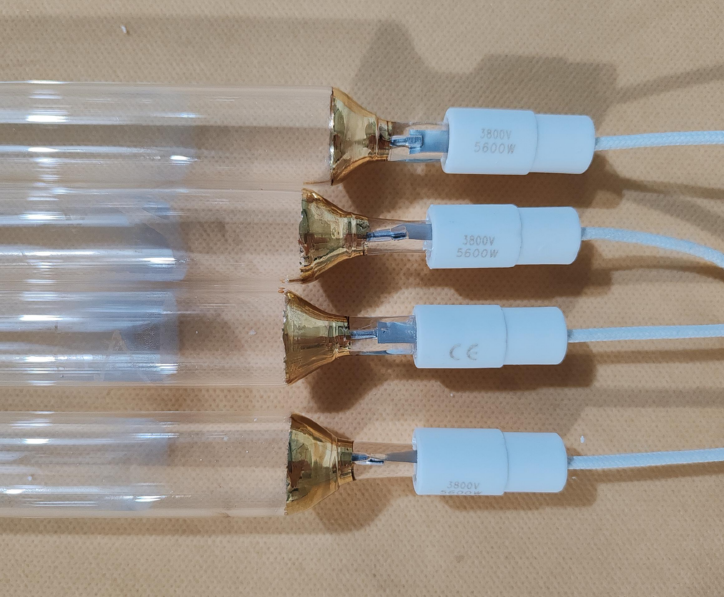
Getting the Most Out of Your 120W/cm Mercury UV Lamp
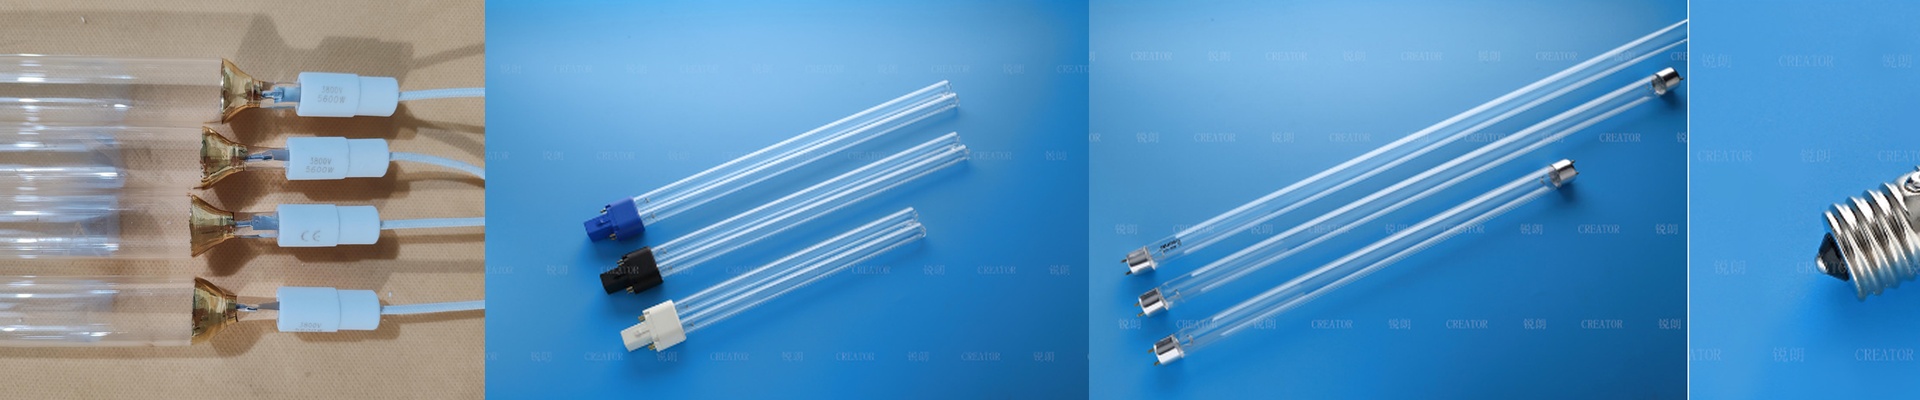
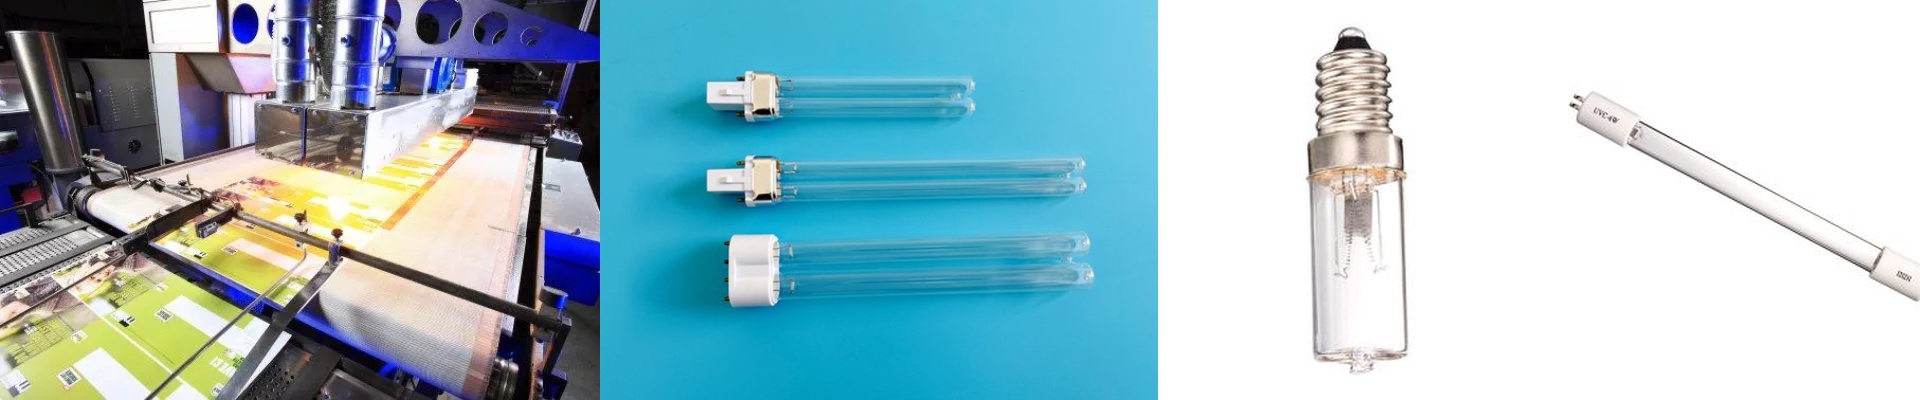
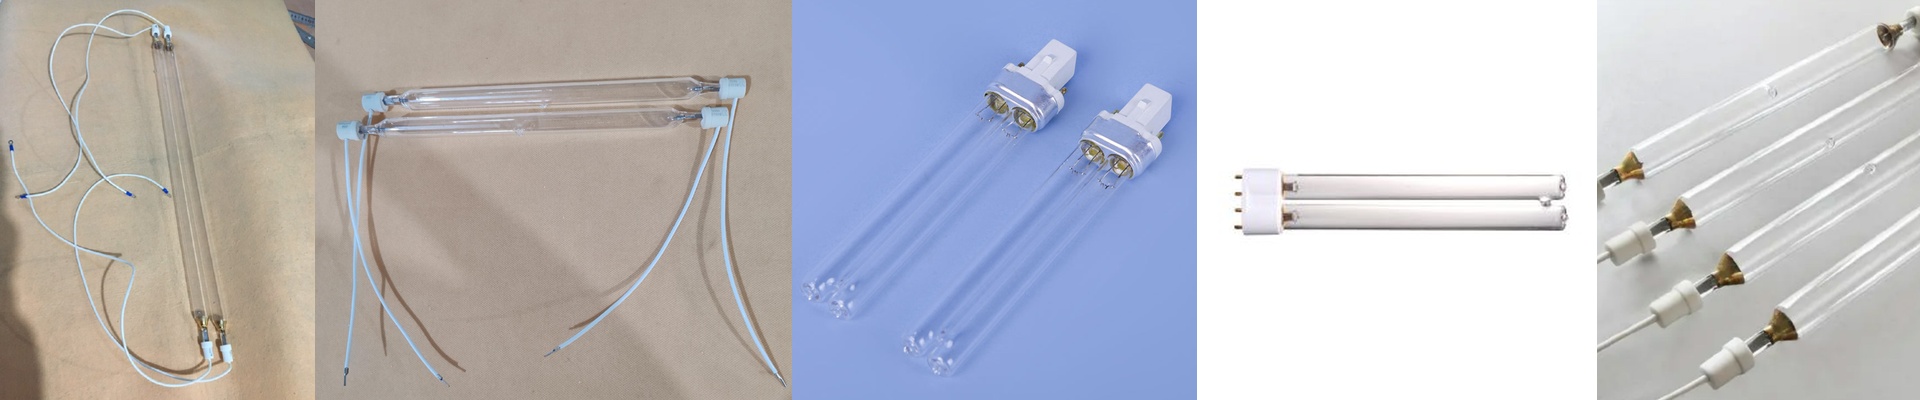
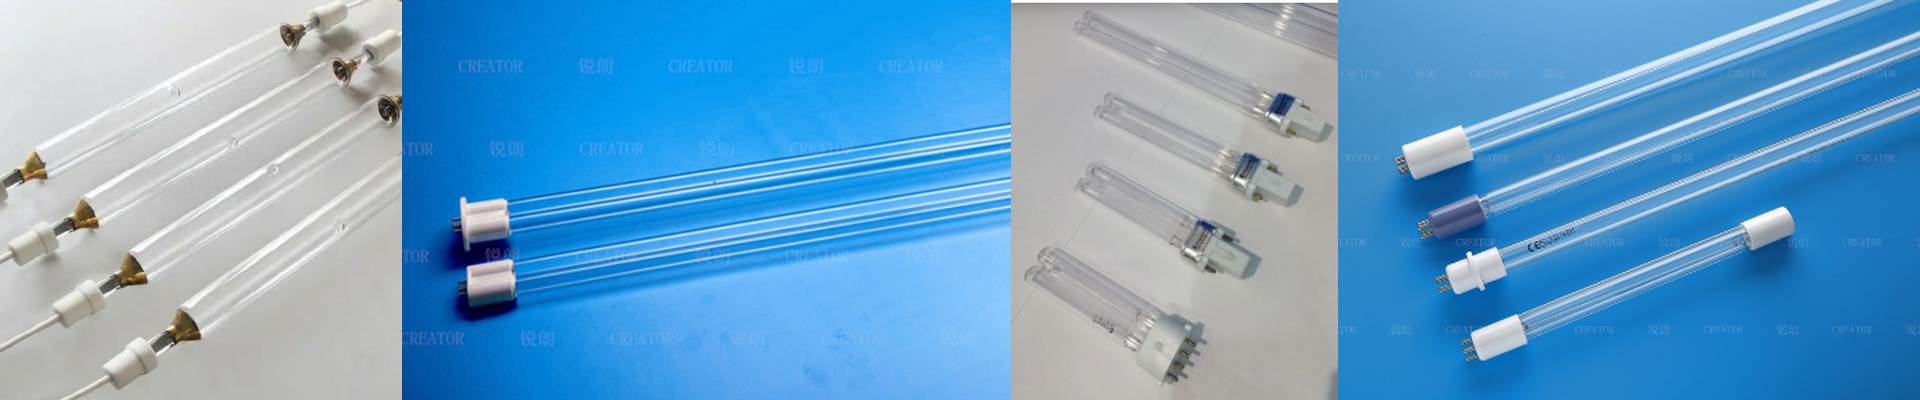
If you’re running a high-speed curing line, you know the 120W/cm mercury lamp is basically the heavy lifter of the operation. We built these to hit a wide range of UV-A, B, and C bands. Why? Because you need that broad reach to make sure everything is cured—from the thin resin on the surface down to the deep pigments hiding underneath.
The Heat Struggle
Here is the thing about packing 120W into every centimeter: it’s a ton of energy in a tiny space. The upside is great. You can crank up your line speed and still give your substrate the exact dose of radiation it needs. But there’s a catch.It gets hot. Really hot. If your cooling blowers or water-jackets aren’t up to the task, you’re asking for trouble. The quartz envelope can overheat, which usually ends in two ways: your lamp burns out way too early, or your product starts warping. Neither is a good day at the office.
What’s Actually Happening Inside
Under the hood, it’s all about that high-pressure mercury vapor discharge. Once you hook it up to the ballast, the arc stabilizes and starts pumping out those key peaks at 254nm and 365nm. We spend a lot of time making sure that arc stays steady. If it flickers, you get those annoying “curing strips” on your product—uneven patches that look unprofessional. Plus, we use high-purity quartz. It stops the lamp from “solarizing,” which is just a fancy way of saying it won’t get cloudy and dim as it gets older.
Stopping the Guesswork
For a long time, the industry approach was “set it and forget it.” But that’s a risky way to run a shop. Now, we’re pairing these tubes with real-time radiometers. Instead of hoping for the best, you can actually see the mW/cm² hitting the belt. If the output is too high, you can speed up the conveyor. If it’s dipping, you can tweak the power on the fly. It’s a much smarter way to work. You stop wasting energy when the lamp is brand new and you know exactly when it’s time to swap it out.